Blog
Step-by-Step Guide to Crafting Your Perfect WordPress Site
Table Of Content
ToggleCreating a Perfect WordPress Site can seem overwhelming at first, but with the right steps, you’ll have your website up and running smoothly in no time. Whether you’re a beginner or looking to refine your skills, this guide will walk you through each stage of the process. Ready to dive in? Let’s get started!
Is Website Is Important For Digital Marketing?
Yes, a website is crucial for digital marketing! Here’s why:
Online Presence: A website is your digital storefront, available 24/7. It helps establish credibility and reach a broader audience.
Central Hub: All your digital marketing efforts—SEO, social media, email campaigns, and ads—direct users to your website. It’s where conversions happen, such as sales or lead generation.
SEO Benefits: A well-optimized website increases visibility on search engines, driving organic traffic.
Customer Engagement: Websites allow users to explore your services, products, and content at their own pace, enhancing engagement and brand loyalty.
Analytics: A website gives you valuable insights into customer behavior, helping to refine your marketing strategies.
In short, a website is the foundation of any successful digital marketing campaign!
Choose Your Domain Name and Hosting
Your domain name is the web address where people will find your site, so make it memorable! Think about your brand or the purpose of your site, and pick something that’s easy to type and reflects your identity. Once you’ve got that figured out, you’ll need a reliable hosting provider. Popular options like Hostinger places to start.
Get Hosting at 20% off and also get free domain for one year
Choose Your Domain Name and Hosting: How to Make the Right Choice
Selecting the right domain name and hosting provider is crucial to your website’s success. Here are some tips to help you make the best choice:
Tips for Choosing a Domain Name:
-
Keep It Simple and Memorable:
- Choose a domain name that is easy to spell, pronounce, and remember. Avoid complicated words or unusual spellings.
- Example: Instead of “ExtraordinaryOnlineExperiences.com,” go for something like “GreatOnlineExperiences.com.”
-
Brandable and Unique:
- Your domain should reflect your brand or the purpose of your website. Make it unique to stand out from the competition.
- Example: If you’re creating a photography blog, a name like “SnapTales.com” might work better than “PhotosOnline.com.”
-
Short and Sweet:
- Shorter domain names are easier to type and less prone to errors. Aim for something between 6-14 characters if possible.
- Example: “QuickRecipes.com” is better than “EasyAndQuickMealRecipes.com.”
-
Avoid Numbers and Hyphens:
- Numbers and hyphens can create confusion when people try to type your domain. Stick to letters to keep it straightforward.
- Example: Instead of “Best-Deals-4U.com,” try “BestDealsForYou.com.”
-
Use Keywords:
- If possible, incorporate a relevant keyword related to your niche. This can help with search engine visibility.
- Example: “FitnessProTips.com” instead of just “ProTips.com.”
-
Check Availability and Social Media Handles:
- Ensure that your chosen domain is available for registration and that matching social media handles are also free.
- You can use tools like Namecheap, GoDaddy, or Domain.com to check domain availability.
Tips for Choosing a Hosting Provider:
-
Consider Your Needs:
- Think about the type of website you’re building. If it’s a personal blog, a basic shared hosting plan might be enough. For a business site or an e-commerce store, you may need a more robust hosting option like VPS or managed WordPress hosting.
-
Reliability and Uptime:
- Look for a hosting provider with a strong reputation for uptime (99.9% or higher). This ensures your site is always accessible to visitors.
- Popular choices like Hostinger, Bluehost are known for their reliability.
-
Speed and Performance:
- Fast loading times are essential for user experience and SEO. Choose a hosting provider with good server speed and performance optimization features.
- SiteGround and A2 Hosting are known for their speed-focused plans.
-
Customer Support:
- Responsive and helpful customer support can be a lifesaver, especially if you’re new to website building. Look for 24/7 support through chat, phone, or email.
- Providers like HostGator and InMotion Hosting are praised for their excellent customer service.
-
Scalability:
- As your site grows, your hosting needs may change. Choose a provider that offers easy upgrades, so you can scale your hosting plan without hassle.
- For example, WP Engine offers managed hosting plans that grow with your site’s needs.
-
Security Features:
- Security should be a top priority. Ensure your hosting provider offers features like SSL certificates, regular backups, and malware protection.
- Providers like SiteGround and Bluehost offer robust security options.
-
Pricing and Value:
- While price is important, don’t just go for the cheapest option. Look at what features are included in the plan. Often, paying a bit more for better performance and support is worth it.
- Compare introductory offers and renewal rates. Many providers, like Bluehost, offer discounted rates for the first term but may increase after renewal.

For Personal Blog
Basic shared hosting plan might be enough
GET IT BY 20% OFF With My Referral

For a Small Business Site or an
e-commerce store
Business plan is best for you
GET IT BY 20% OFF With My Referral

For a Large Scale Business Site or an
e-commerce store
Cloud setup is best for you
GET IT BY 20% OFF With My Referral
Install WordPress
Most all hosting providers offer one-click WordPress installation. After setting up your hosting, look for an option like “Install WordPress” in your hosting dashboard. Follow the prompts, and you’ll have your WordPress site installed in a matter of minutes.
Select a Theme
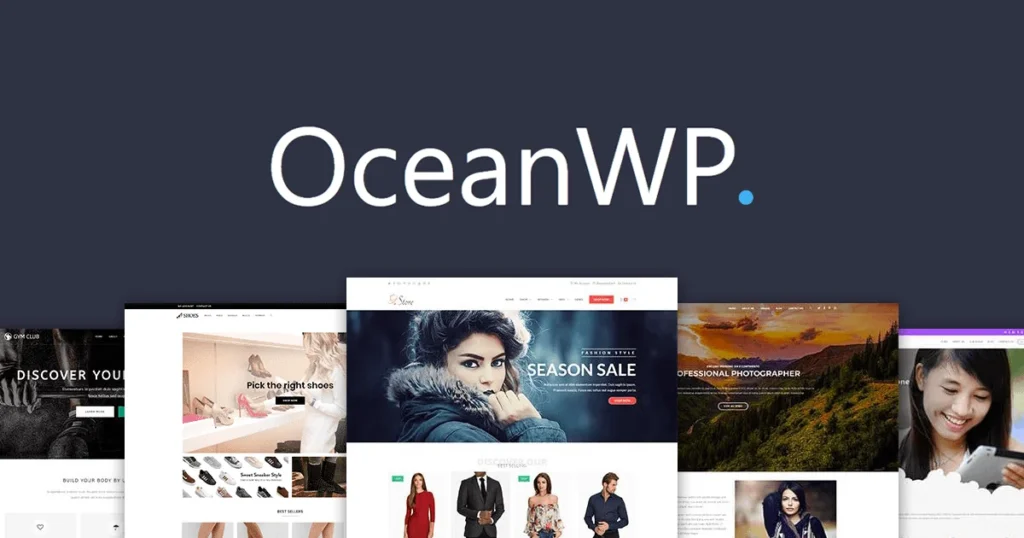
Now for the fun part – choosing your theme! WordPress offers thousands of free and premium themes, each catering to different styles and functionalities. Whether you’re going for a sleek professional look or a bold creative vibe, there’s something for everyone. Once you find the perfect theme, install and activate it. I suggest you to choose Ocean wp theme because it give you a good speed optimization and professional look to your Perfect WordPress Site.
Tips for Choosing the Perfect WordPress Theme
Selecting the right theme is crucial for creating a website that looks great and functions smoothly. Here are some essential tips to help you choose the perfect WordPress theme:
1. Define Your Site’s Purpose:
- Start by identifying the main goal of your website. Is it a blog, a portfolio, an e-commerce site, or a business website? Your theme should align with your site’s purpose and provide the necessary features.
- Example: For an e-commerce site, look for themes optimized for WooCommerce, like Astra or Storefront.
2. Prioritize Simplicity:
- A clean and simple design is often more effective than a cluttered one. Avoid themes with overly complex layouts or too many features that you may not need. Focus on user experience and ease of navigation.
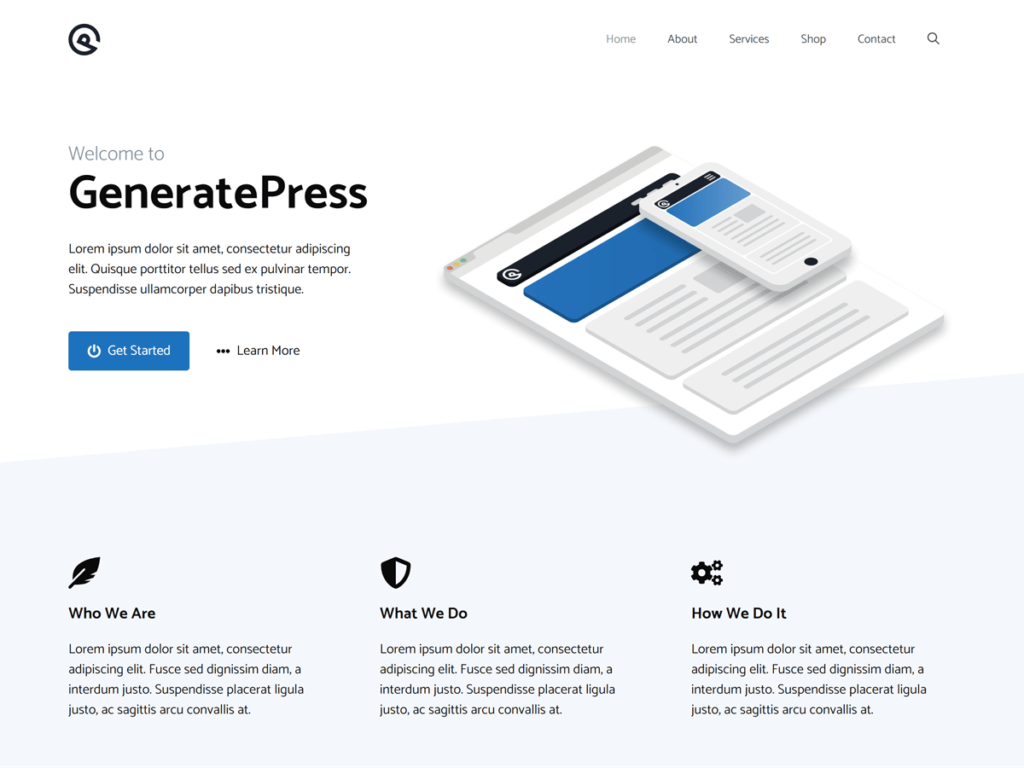
- Example: Themes like GeneratePress or Neve offer simple, yet professional layouts that are easy to customize.
3. Check for Responsiveness:
- Your theme must be mobile-friendly and look great on all devices. Most modern themes are responsive, but always check the theme demo on different screen sizes (desktop, tablet, mobile) to ensure it adapts well.
- Look for themes labeled as “responsive” or test them using tools like Google’s Mobile-Friendly Test.
4. SEO Friendliness:
- An SEO-optimized theme will help improve your site’s visibility in search engines. Look for themes that are built with clean, optimized code, and offer support for popular SEO plugins like Yoast SEO.
- Example: Themes like Astra or Schema are known for their SEO-friendly structure.
5. Customization Options:
- Choose a theme that offers plenty of customization options without requiring coding knowledge. Look for themes that allow you to easily change colors, fonts, layouts, and more through the WordPress Customizer.
- Themes like OceanWP or Elementor-based themes offer extensive customization options.
6. Check Compatibility with Plugins:
- Ensure your theme is compatible with popular WordPress plugins. Whether it’s for SEO, social sharing, or e-commerce, your theme should work seamlessly with the plugins you plan to use.
- Example: If you plan to build an online store, make sure your theme works well with WooCommerce.
7. Read Reviews and Ratings:
- Before committing to a theme, read user reviews and ratings. This will give you insight into the theme’s performance, ease of use, and support quality. Pay attention to any recurring issues mentioned by users.
- Example: You can find reviews directly on the WordPress theme repository or on third-party websites.
8. Consider Loading Speed:
- A fast-loading theme is crucial for user experience and SEO. Avoid themes that are bloated with unnecessary features, as they can slow down your site. Choose a lightweight theme that prioritizes performance.
- Example: Themes like Astra and GeneratePress are known for their speed and lightweight design.
9. Check for Regular Updates and Support:
- Make sure the theme is regularly updated to stay compatible with the latest WordPress version and to address security issues. Also, check if the theme developer offers reliable customer support in case you run into any issues.
- Example: Premium themes from developers like Elegant Themes (Divi) or ThemeForest often come with dedicated support.
10. Consider a Premium Theme:
- While free themes are great for starting out, premium themes often offer more features, customization options, and dedicated support. If your budget allows, investing in a premium theme can save you time and effort in the long run.
- Example: Popular premium themes include Divi, Avada, and Astra Pro.
By keeping these tips in mind, you’ll be better equipped to choose a WordPress theme that not only looks good but also enhances your website’s functionality and user experience. Happy theme hunting!


Customize Your Site
Head over to the WordPress customizer (found under “Appearance” > “Customize”). Here, you can tweak colors, fonts, layouts, and more to align with your vision. If you have a logo or specific branding elements, now’s the time to integrate them. You can customize your site in two ways: on site page or back site of the site through dashboard.


Add Essential Plugins
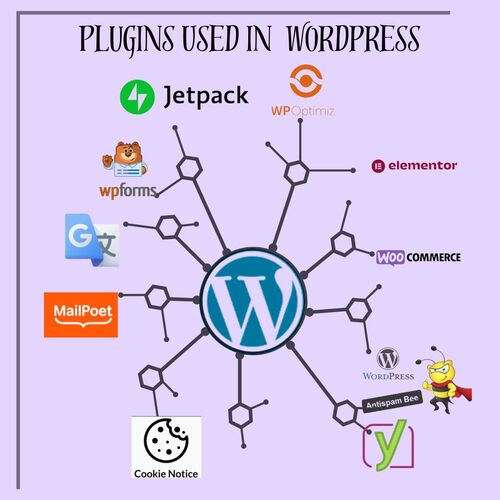
Plugins are like apps for your WordPress site, adding extra features and functionalities. Essential plugins include Yoast SEO for optimizing your site’s visibility on search engines, Akismet for spam protection, and Jetpack for site security and performance monitoring. Choose plugins that enhance your site’s performance and user experience without overloading it.

Create Core Pages
A typical WordPress site needs a few core pages, such as:
- Home: The first impression visitors get of your site.
- About: Share your story, mission, or business values.
- Contact: Make it easy for visitors to reach you.
- Blog: If you’re planning to publish content regularly, this is your hub.
Set Up Your Menu
A user-friendly navigation menu is key to keeping visitors engaged. Under “Appearance” > “Menus,” you can easily add pages and create a structure that guides visitors to important sections of your site. Keep it simple and intuitive.
Tips to Set Up Your WordPress Menu
Your site’s menu is a crucial element for guiding visitors through your content. A well-organized menu ensures users can easily find what they’re looking for. Here are some tips to set up your WordPress menu effectively:
1. Plan Your Menu Structure:
- Before diving into WordPress, take some time to plan your menu structure. Think about the most important pages or sections you want to highlight. Keep your menu focused on key areas like Home, About, Blog, Services, and Contact.
- Consider using submenus (dropdowns) for related pages, like organizing “Products” under a main “Shop” menu item.
2. Keep It Simple and Intuitive:
- Simplicity is key to a user-friendly menu. Avoid overwhelming visitors with too many menu items. Stick to the essentials and keep the number of items between 5-7.
- Ensure the menu labels are clear and descriptive. For example, use “Contact Us” instead of just “Contact” if it helps clarify the purpose.
3. Use Descriptive Labels:
- Use clear and descriptive labels for each menu item. Visitors should know exactly what to expect when they click on a link. Instead of using vague terms like “Services,” be more specific, such as “Web Design Services” or “SEO Services.”
- Descriptive labels also improve SEO by including relevant keywords.
4. Organize with Submenus (Dropdowns):
- If you have a lot of content, organize related items under a submenu (dropdown menu). This keeps your main menu clean and organized while still allowing access to additional pages.
- For example, under a “Blog” menu item, you can create submenus for categories like “Tech,” “Lifestyle,” and “Travel.”
5. Prioritize Important Pages:
- Place the most important or most visited pages at the beginning of your menu. Studies show that the first and last items in a menu often get the most attention.
- For example, place “Home,” “About,” and “Contact” in prominent positions.
6. Consider a Sticky Menu:
- A sticky menu (also known as a fixed or floating menu) stays visible at the top of the screen as users scroll down the page. This is especially useful for long pages where users may need quick access to other sections of the site.
- Some themes have sticky menu options built-in, or you can use plugins like “Sticky Menu (or Anything!) on Scroll.”
7. Add a Call-to-Action (CTA) Button:
- If you have a key action you want visitors to take (e.g., signing up, contacting you, or purchasing), consider adding a prominent call-to-action button in the menu. This can help drive conversions.
- Example: Add a “Get a Quote” or “Sign Up” button in a contrasting color to draw attention.
8. Include Social Media Links (Optional):
- If your site’s goal is to grow your social media presence, consider adding social media icons to your menu. This can be done through custom links or by using a plugin that integrates social icons into the menu.
- Place these icons at the end of the menu to keep the main focus on your website content.
9. Test on Different Devices:
- Ensure your menu looks and functions well on all devices. Test it on desktop, tablet, and mobile to ensure it’s responsive. On mobile devices, your menu should collapse into a “hamburger” icon (three horizontal lines) for easy access.
- Many themes have mobile-specific menu settings, so take advantage of them to create a user-friendly mobile experience.
10. Utilize Custom Links and Pages:
- In addition to adding regular pages, you can create custom links in your menu that lead to external sites or specific sections within your site. This is helpful for linking to external resources, a specific blog category, or a landing page.
- Example: Link to your social media profiles or to a specific section on your homepage.
11. Use Multiple Menus if Needed:
- Depending on your theme, you may have the option to create multiple menus, such as a main menu, a top bar menu, and a footer menu. Use these strategically to provide additional navigation options without cluttering your main menu.
- For example, use a top bar menu for secondary links like login, support, or language selection, and a footer menu for important legal links (e.g., privacy policy, terms of service).
12. Utilize the “Custom Menu” Widget:
- WordPress allows you to add menus to widget areas (like sidebars or footers) using the “Custom Menu” widget. This is a great way to provide additional navigation options without overwhelming the primary menu.
- For example, you can create a footer menu with links to your privacy policy, terms and conditions, or frequently asked questions.
13. Preview and Test Your Menu:
- Once your menu is set up, preview your site to see how it looks and test the links to ensure everything works correctly. Make adjustments as needed to improve navigation and user experience.
- Ask friends or colleagues to navigate your site and provide feedback on the menu’s usability.
Optimize for Mobile
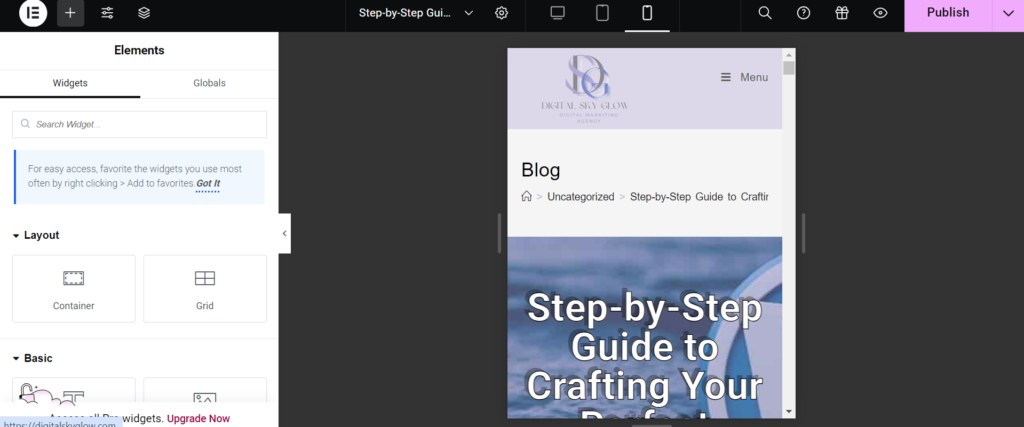
With more people browsing on mobile devices, ensuring your site looks great on smaller screens is crucial. Most themes are responsive, but it’s worth checking how your site appears on different devices. WordPress customizer also has a preview option to see your site on mobile.

Test and Launch
Before going live, test your site thoroughly. Check for broken links, ensure all forms work, and verify that your site loads quickly. You can use tools like Google Page Speed Insights to evaluate your site’s performance. Once everything looks perfect, hit that launch button!
Maintain and Update
Your WordPress site is live, but the work doesn’t stop there! Regularly update WordPress, your theme, and plugins to keep everything running smoothly and securely. Also, keep your content fresh by adding new blog posts, images, or products as needed.
Building a WordPress site doesn’t have to be a daunting task. With this guide, you can take it one step at a time and create a Perfect WordPress Site that’s not only beautiful but also functional and user-friendly. If you feel any problem to create website you can easy contact us .Happy website building!
Website Accessibility
In today’s digital-first world, creating a website that is inclusive and accessible isn’t just a moral imperative; it’s also a smart business decision. Website accessibility ensures that everyone, including individuals with disabilities, can interact with your site effectively. In this blog, we’ll explore the basics of website accessibility, why it matters, and how to get started with making your website accessible to all.
What is Website Accessibility?
Website accessibility means designing and developing websites so that people with diverse abilities can perceive, understand, navigate, and interact with them. This involves catering to individuals who may have:
- Visual impairments (e.g., blindness or color blindness).
- Hearing impairments (e.g., deafness).
- Motor disabilities (e.g., difficulty using a mouse or keyboard).
- Cognitive or learning disabilities (e.g., dyslexia).
Why Visual Design Matters
In today’s hyper-competitive market, first impressions are everything. Whether it’s a website, app, or physical product, how something looks can make or break a customer’s perception in seconds. Visual design goes beyond mere aesthetics; it’s a powerful tool that communicates brand values, builds trust, and drives action. Here’s an in-depth exploration of why visual design matters and how stunning aesthetics can shape customer perception.
Let’s Grow Together
Partner with Digital Sky Glow
Ready to take your business to the next level? Partner with us, and let’s start building your brand’s success story together. Contact us today to learn more about our services and how we can help you achieve your business goals.

